Fill, satin or run, per shape
Large areas become fill: rows of short stitches in a staggered pattern. Borders, letters and narrow shapes, roughly 1 to 7–8 mm wide, become satin. Fine details become run stitches.
How it works
Upload a PNG or JPG of your logo, up to 25 MB. Your digitizer cleans the art, turns its colors into threads and, for most designs in about a minute, shows it stitched in 4 styles. Pick a style and a size, then download DST, PES, JEF, EXP, VP3 or XXX. Downloading needs a free account.
Last updated · The Stitch and Threads team
Real results, on real products
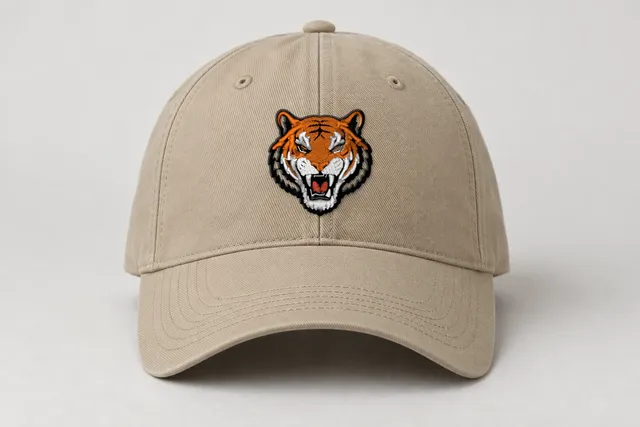 Sample
Tiger mascot
Classic
9,273 stitches · 5 threads · 50 mm wide
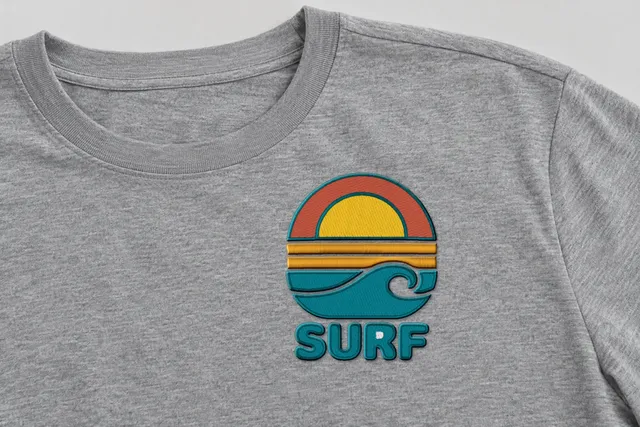 Sample
Surf sunset badge
Bold Outline
14,105 stitches · 5 threads · 90 mm wide
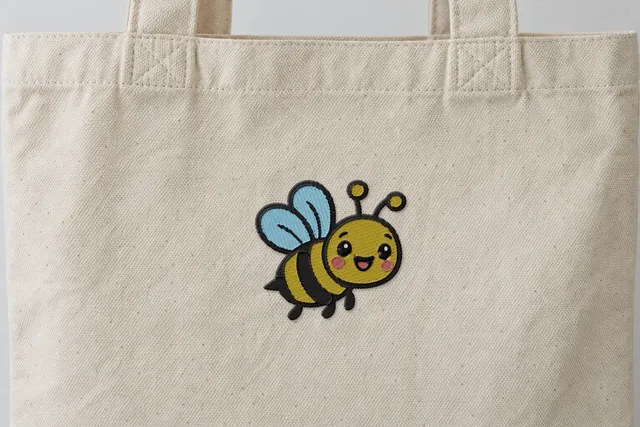 Sample
Happy bee
Soft & Light
4,567 stitches · 5 threads · 90 mm wide
 Sample
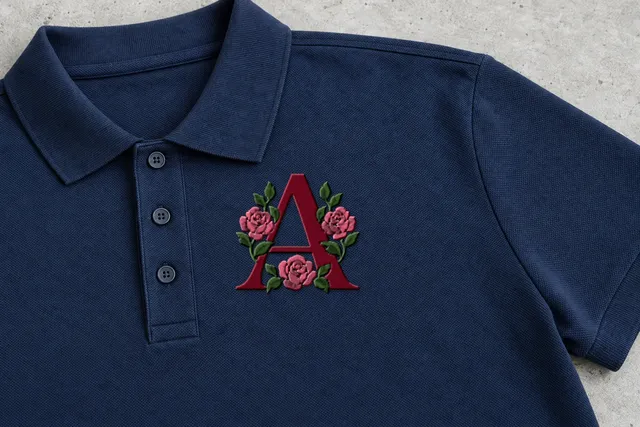
Rose monogram
Classic
7,515 stitches · 3 threads · 90 mm wide
Mockup: our rendered stitches on a product photo, at true size. Sample designs, not customer work.
Seven steps
Upload your art. Drop a PNG or JPG, up to 25 MB, then create your free account to digitize it.
Logos, lettering, clip art and line drawings work best. Upload the biggest, cleanest image you have. Photos are experimental in the Beta. Your art stays in your browser until you sign in, then the page becomes your design.
Your digitizer removes the background and turns the colors of your art into threads. You see the original beside the cleaned art, with the thread colors and a list of what changed.
For our sample badge, it found 8 colors and merged 2 edge blends, leaving 6 threads.
Tap a placement chip, Left chest 3.5″, Cap front, 3″ patch or Jacket back, or type your own width from 10 to 400 mm.
A typical left chest logo is about 3–4 in (75–100 mm) wide. A cap front is usually about 2–2.25 in (50–57 mm) tall.
For most designs, in about a minute, your digitizer shows your art stitched in Classic, Bold Outline, Soft & Light and Line Art, each with its stitches, colors, size and an estimated sewing time.
Switch the big preview between Stitched, Art & threads and On product.
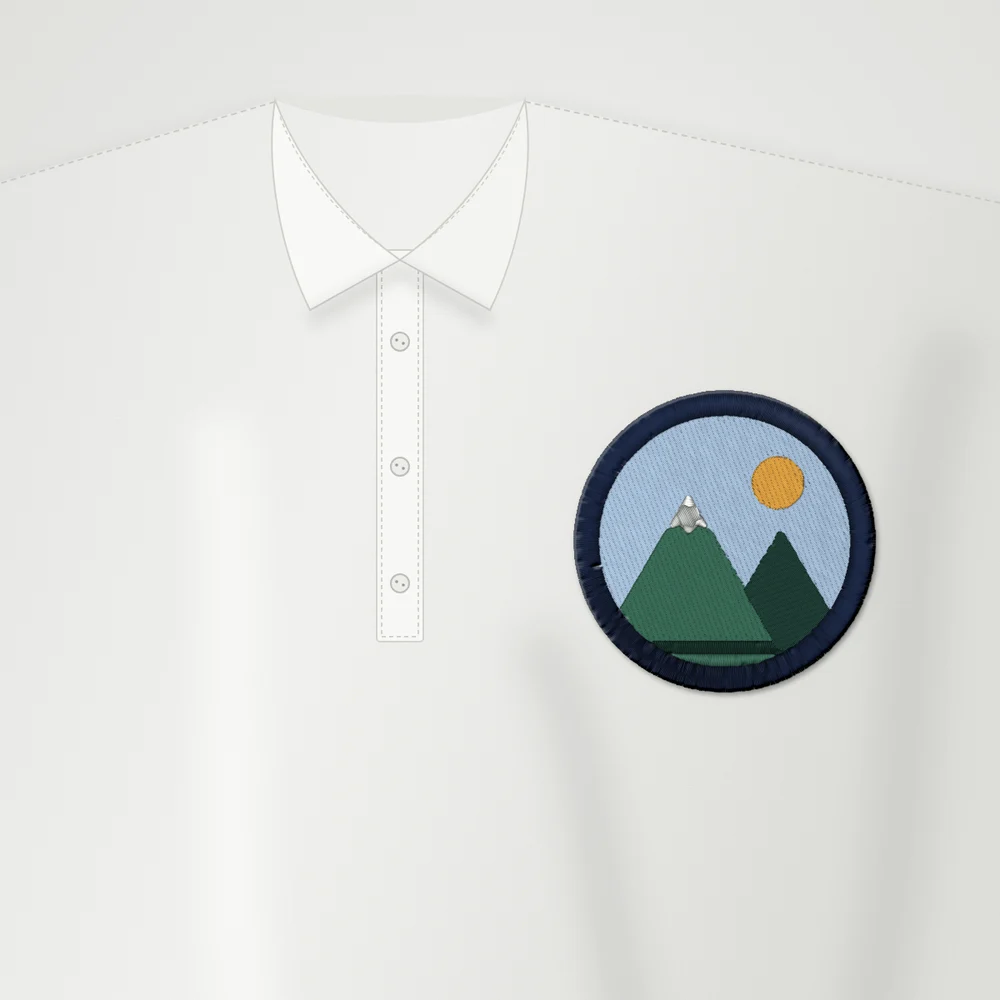
On product shows our sample badge on a polo, a cap, a t-shirt or a tote. Your own design on products is coming next.
Pick a style, change the size, turn the outline on or off and choose your file format with the controls. Every change shows in your conversation, with Undo.
Asking for changes in your own words is coming next.
Choose DST, PES, JEF, EXP, VP3 or XXX and download. Every free account gets 5 free designs, with no card.
The first download of a design uses 1 free design. Downloading it again, in any style or format, is free.
Step 2, up close

01
Your upload
The picture as you sent it.

02
Art & threads
Background removed, colors merged into 6 threads.
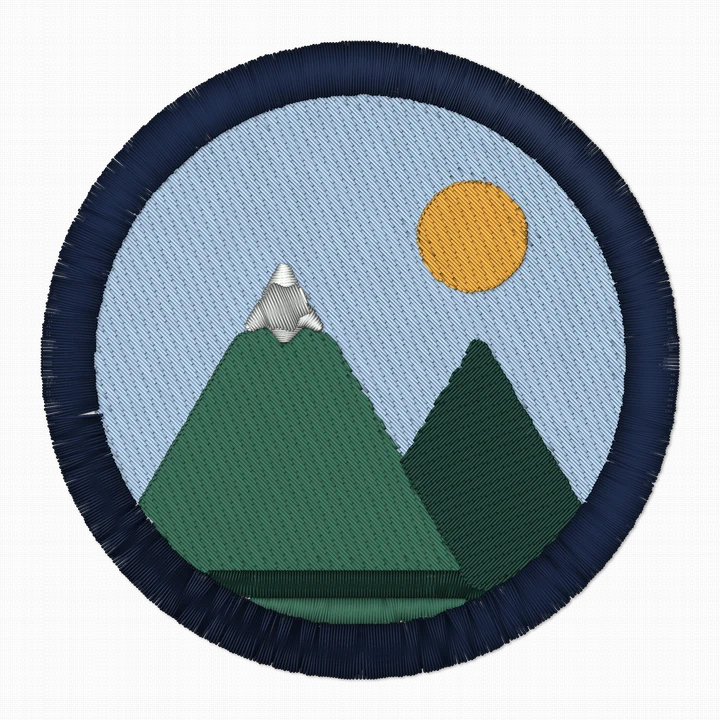
03
Stitched
Every shape planned as fill, satin or run.
The craft
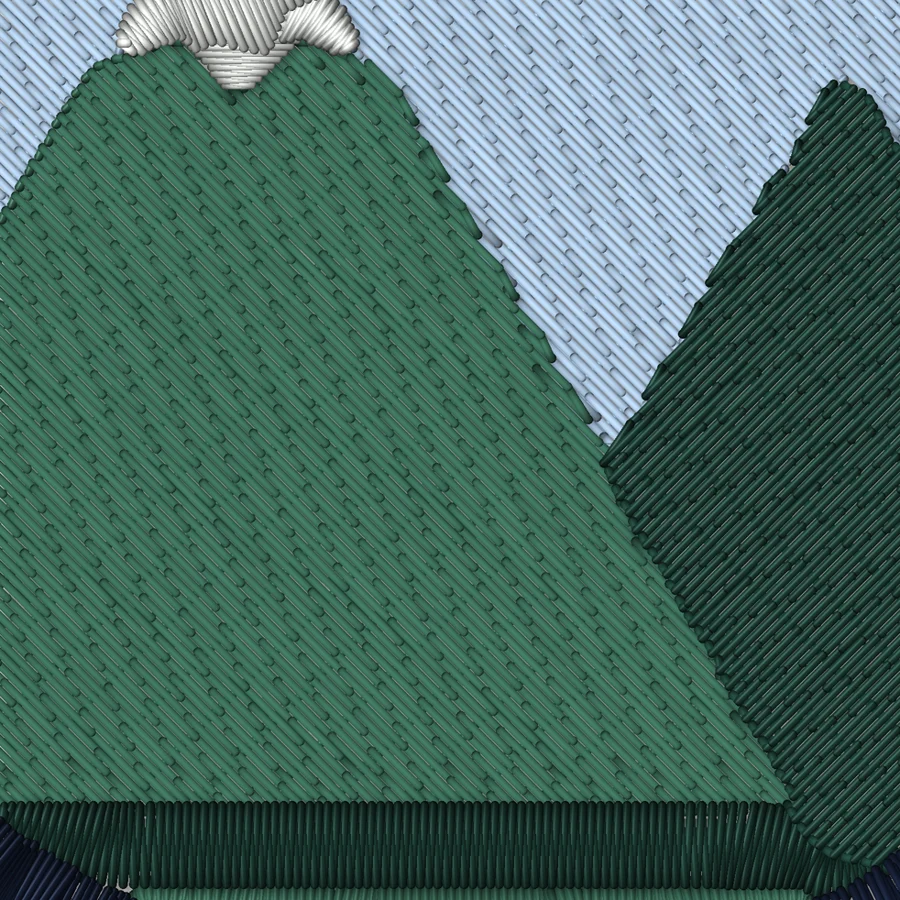
Large areas become fill: rows of short stitches in a staggered pattern. Borders, letters and narrow shapes, roughly 1 to 7–8 mm wide, become satin. Fine details become run stitches.
Your digitizer sets the angle of the stitches in each shape. Fill angles are fixed today; choosing your own angles is not a feature yet.
Stitches sewn first, under the visible ones. They hold the fabric steady and lift the top stitches. Classic and Bold Outline use underlay; Soft & Light doesn't, to stay light.
Thread pulls the fabric in as it sews, so shapes are made slightly wider: 0.25 mm in Classic and Bold Outline, 0.20 mm in Soft & Light.
Shapes are sewn in an order that lands outlines on top and keeps thread cuts down.
Every style shows its stitches, threads, size and an estimated sewing time before you download.
Satin stitch is zig-zag stitches sewn side to side across a column. It's best for borders, lettering and narrow shapes, roughly 1 to 7–8 mm wide. Wider columns get loose and can snag, so they're filled instead.
Fill (often called tatami) is rows of short stitches in a staggered pattern, for larger areas. The spacing between rows is the density: tighter means more stitches, more coverage and a stiffer result.
A run stitch is a single line of stitches, for fine details and outlines. A triple run is sewn three times, so it's heavier and bolder. Line Art uses a triple run.
Underlay is stitches sewn first, under the visible ones. They hold the fabric steady and lift the top stitches. Common types are center run, edge run, zig-zag and fill underlay.
Step 5
SampleA realistic render of every stitch, lit so you can see each row.
Rendered preview from the stitch file. Not a photo.
SampleYour cleaned art beside the thread colors your digitizer chose.
 Sample
The sample on a polo, cap, t-shirt or tote. Your own design on products is coming next.
Mockup: our rendered stitches on a product photo, at true size.
Step 7
Before your first run
PNG or JPG, up to 25 MB.
You choose the width, from 10 to 400 mm.
No. The preview is a realistic render, not a photo of a sew-out. Thread, fabric, stabilizer and machine all change the result. Do a test sew-out first.
Not yet. Asking for changes in your own words is coming next. Today you can change the style, the size and the file format with the controls.
Your AI digitizer
PNG or JPG, up to 25 MB. Free account · 5 free designs, no card.
Drop your artwork